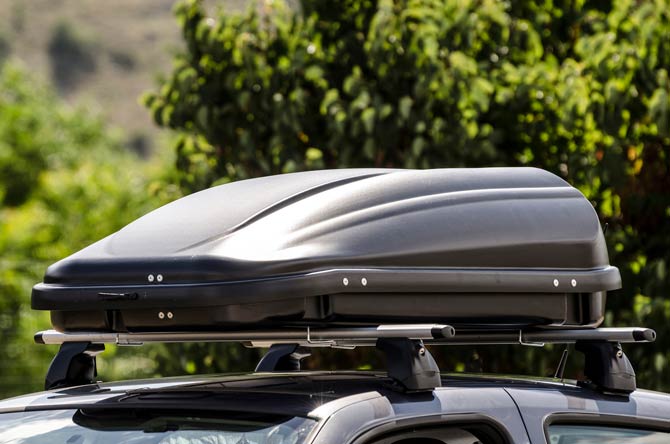
Roof boxes offer an optimal solution for efficiently expanding the storage space of a vehicle. Especially when traveling or at sporting events, they are indispensable helpers for safely transporting luggage and equipment.
But how do you install a roof box correctly and safely? In this post, we will present a step-by-step guide to installing and using a roof box.
Step 1: Choosing the right roof box
Before a roof box can be installed at all, you have to find a suitable roof box and select it for the respective car. You should pay particular attention to the size, the maximum load capacity and the material quality.
Another and very important aspect is the fastening mechanism.
Because some boxes and their brackets are specially designed for cars with or without roof rails, while others are simply too big for certain models and/or exceed the permitted roof load. Different roof boxes are suitable for different requirements – be it the transport of ski equipment, camping equipment or other luggage. Let the experts advise you in detail when buying a roof box.

Step 2: Prepare the vehicle
Before the roof box is mounted on the vehicle, it must be carefully checked whether your vehicle is equipped with roof rails or roof racks. If not, the corresponding accessories may have to be purchased. It must then be ensured that the roof rails or roof racks are mounted stably and securely in order to ensure that the roof box is securely fastened.
Even if the roof box is installed empty, you should always have another person help you. After all, this is held above the head and can therefore become exhausting alone in the long run. In the case of very large cars or minibuses, there should even be 2 helpers, which saves time and energy.

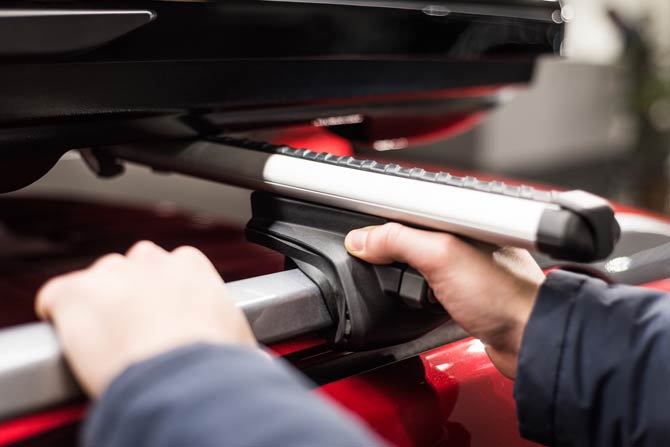
Step 3: Attaching the roof box bracket
The roof box holder is then attached to the car roof. Depending on whether the car in question has a fixed railing or not, the following procedure must be followed:
- With roof rails:
If the car is equipped with roof rails, the rails for the roof box can be fitted without any problems. The position of the support legs must be chosen so that they are straight and firm in order to distribute the load as evenly as possible on all columns of the vehicle. - With fixed points:
Some cars have holes in the roof for the brackets to screw into and are usually behind the plastic cover. Whether the respective car has such attachments can be found in the vehicle’s operating instructions. - Without handrail or fixed point:
If the car does not have a mounting point or railing, a special bracket must be used that attaches to the door frame. However, on some vehicles this will require removing the rubber straps to securely attach the foot to the attachment point. In addition, the two beams must be at the same distance from each other. It is particularly important that the brackets are located as centrally as possible on the roof and neither protrude forwards nor protrude to the sides.
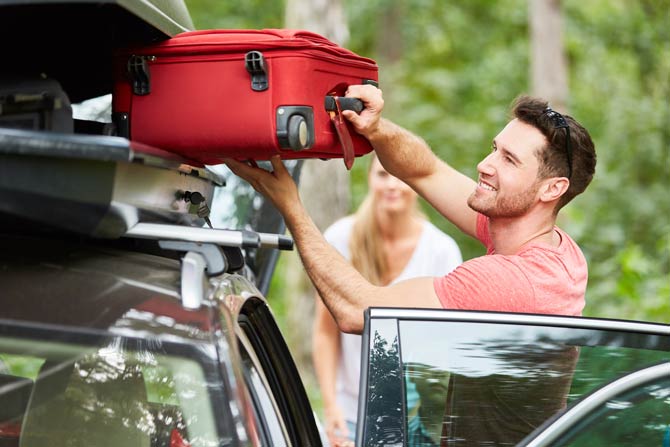
Step 4: Loading the roof box
When loading the roof box, it is essential to pay attention to the maximum permissible weight, the load capacity and the weight distribution in order to ensure optimal driving stability.
It is advisable to place heavy objects as close as possible to the vehicle, while lighter objects should be positioned further out.
So that nothing slips while driving, items of clothing such as socks can be stuffed into the gaps or secured with straps.

Step 5: Check driving ability
Before every journey with the roof box, it is important to check that it is roadworthy. It is essential to ensure that there is sufficient visibility and that no parts of the roof box cover the vehicle’s lighting.
The attachment of the roof box must also be checked regularly, especially on longer journeys.
Step 6: Drive carefully
With a roof box on the car, the handling of a car is significantly influenced.
On the one hand, this strengthens the effect of headwinds and, on the other hand, it is more susceptible to crosswinds.
This can result in increased fuel consumption of more than 3 liters per 100 kilometers. For this reason, you should drive carefully, especially on motorways, and accelerate to a maximum of 130 km/h.
Conclusion: Installing a roof box: step-by-step instructions
In summary, using a roof box is a smart solution to expand the limited storage space of vehicles. Thorough preparation and following the right steps are essential to ensure both road safety and luggage integrity.
From selecting the right roof box to secure attachment and optimal loading, it is important to carefully follow the manufacturer’s instructions.
Proper weight distribution, proper box closure and regular on-the-go checks are essential to minimize potential risks. Our step-by-step instructions with useful tips will help you choose and install roof boxes so that you can experience new adventures without any worries.
Source: https://blogg.de/installation-einer-dachbox/


